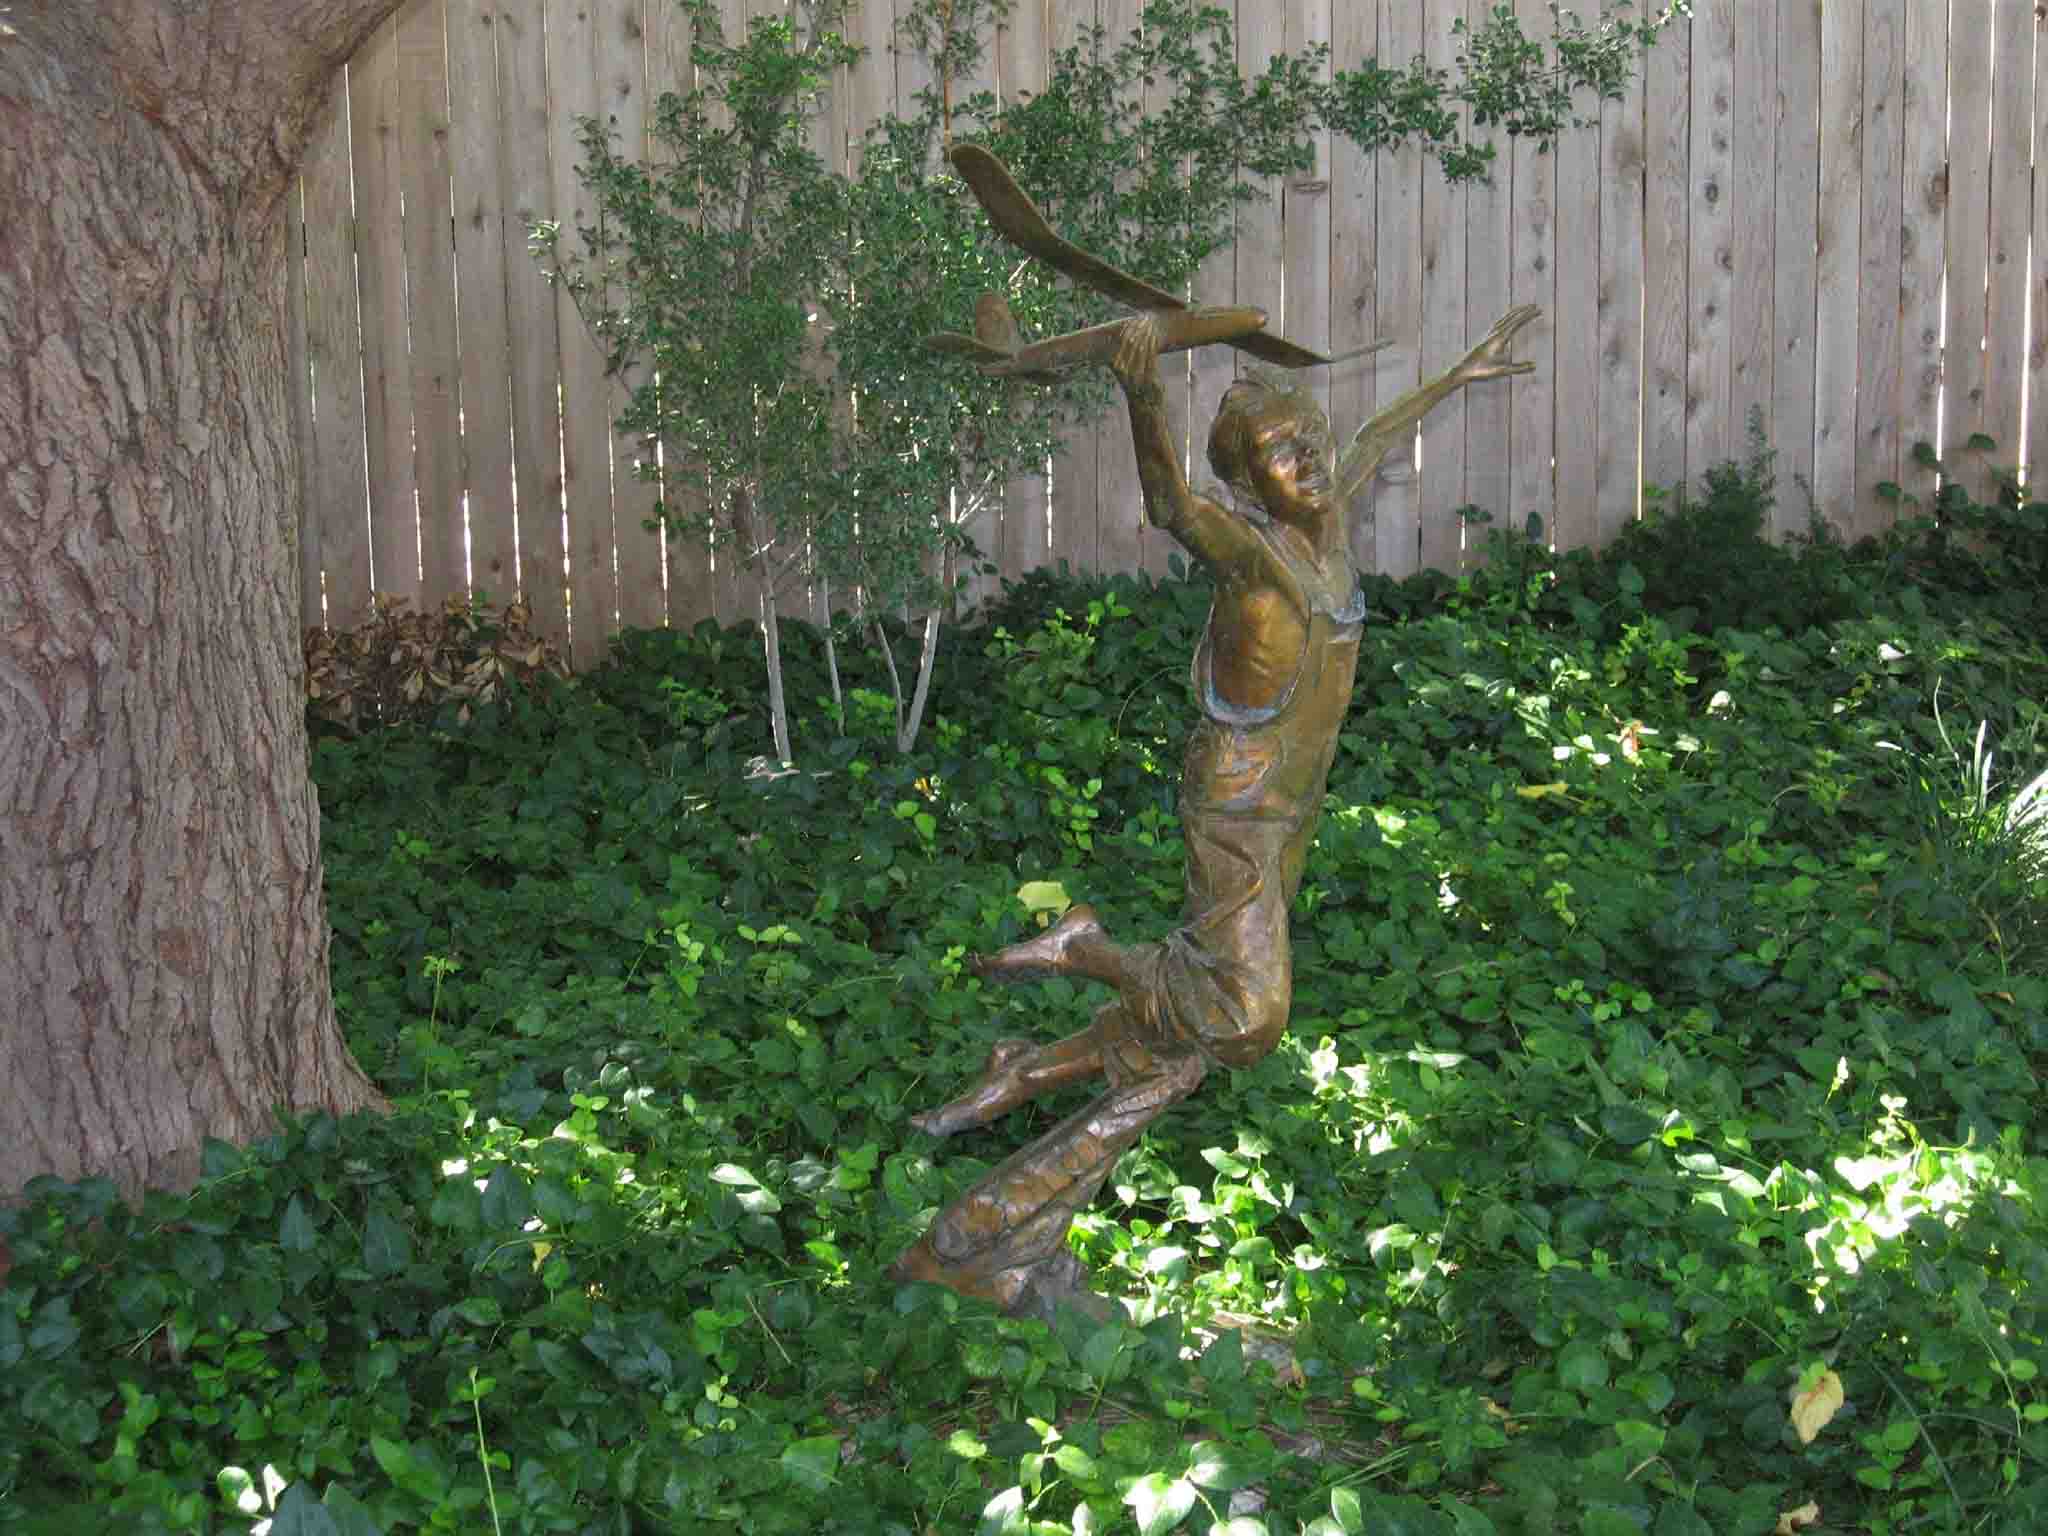
Sculptor Gary Lee Price is known for his detailed workmanship on every piece he creates. He makes sure that there are plenty of interesting textures in every inch of his work. Most of the magic happens using his bare hands but there are the inspired moments when he needs just the right tool to create the perfect impression.
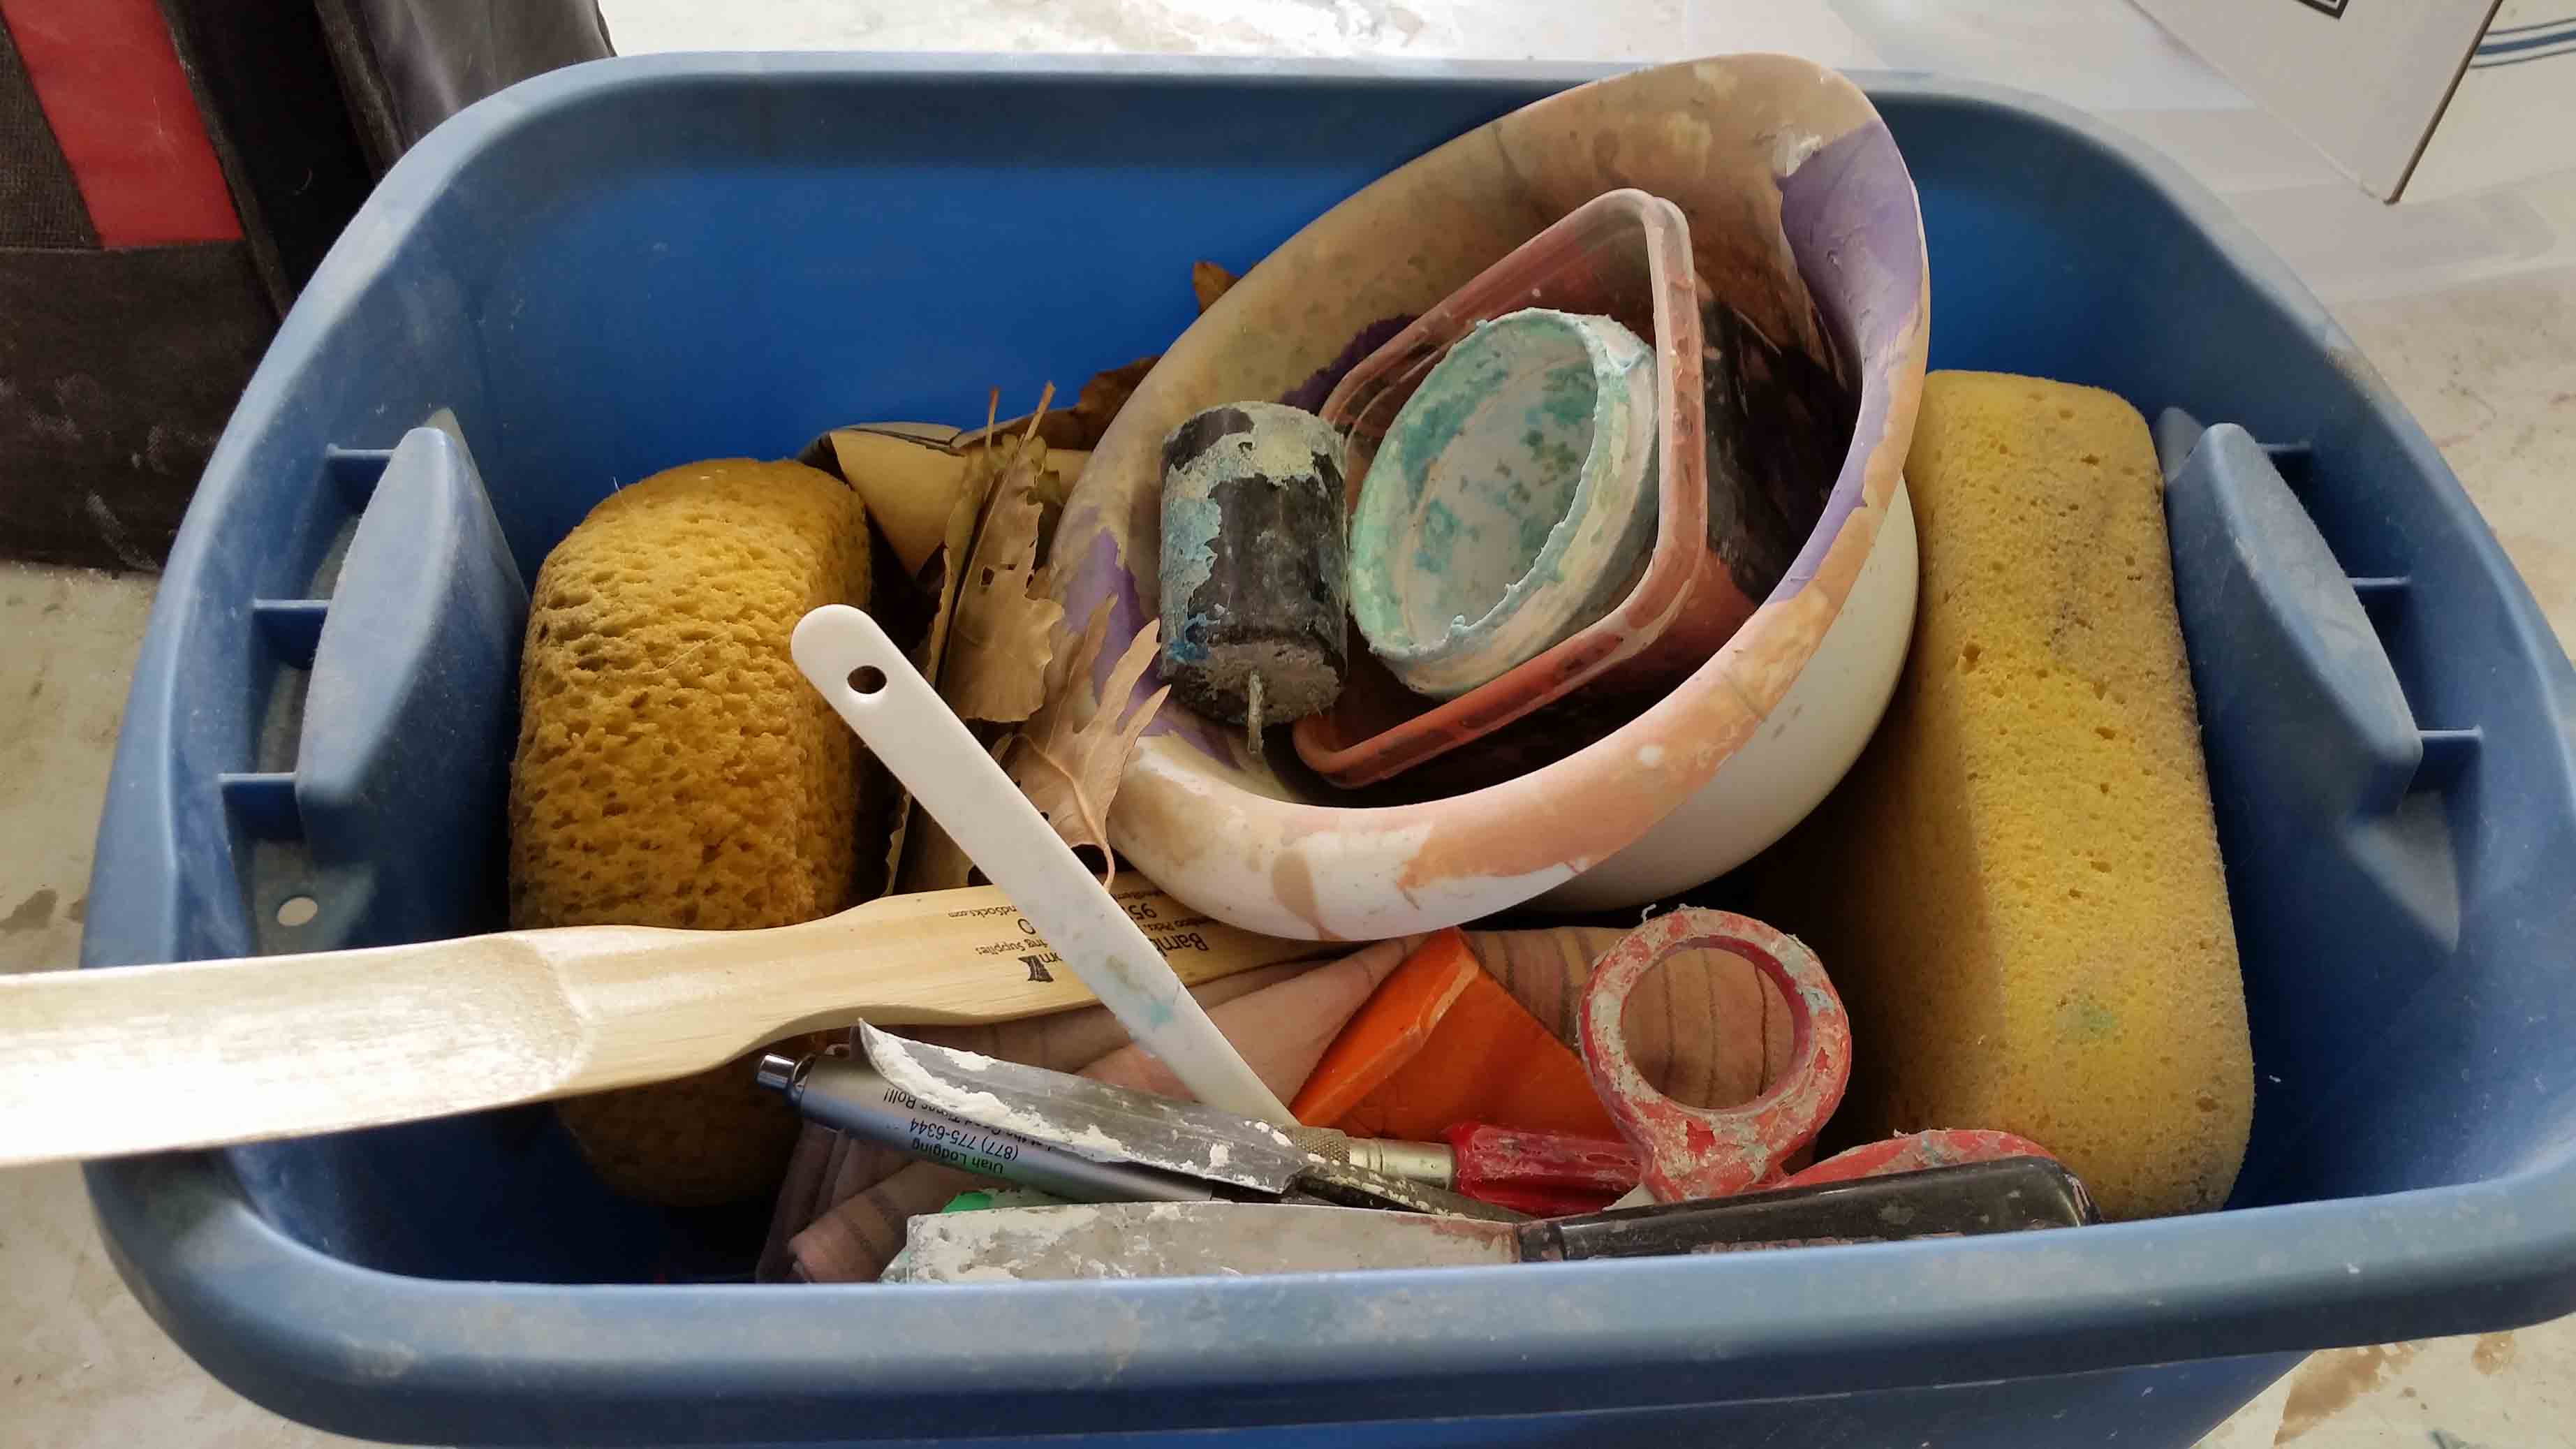
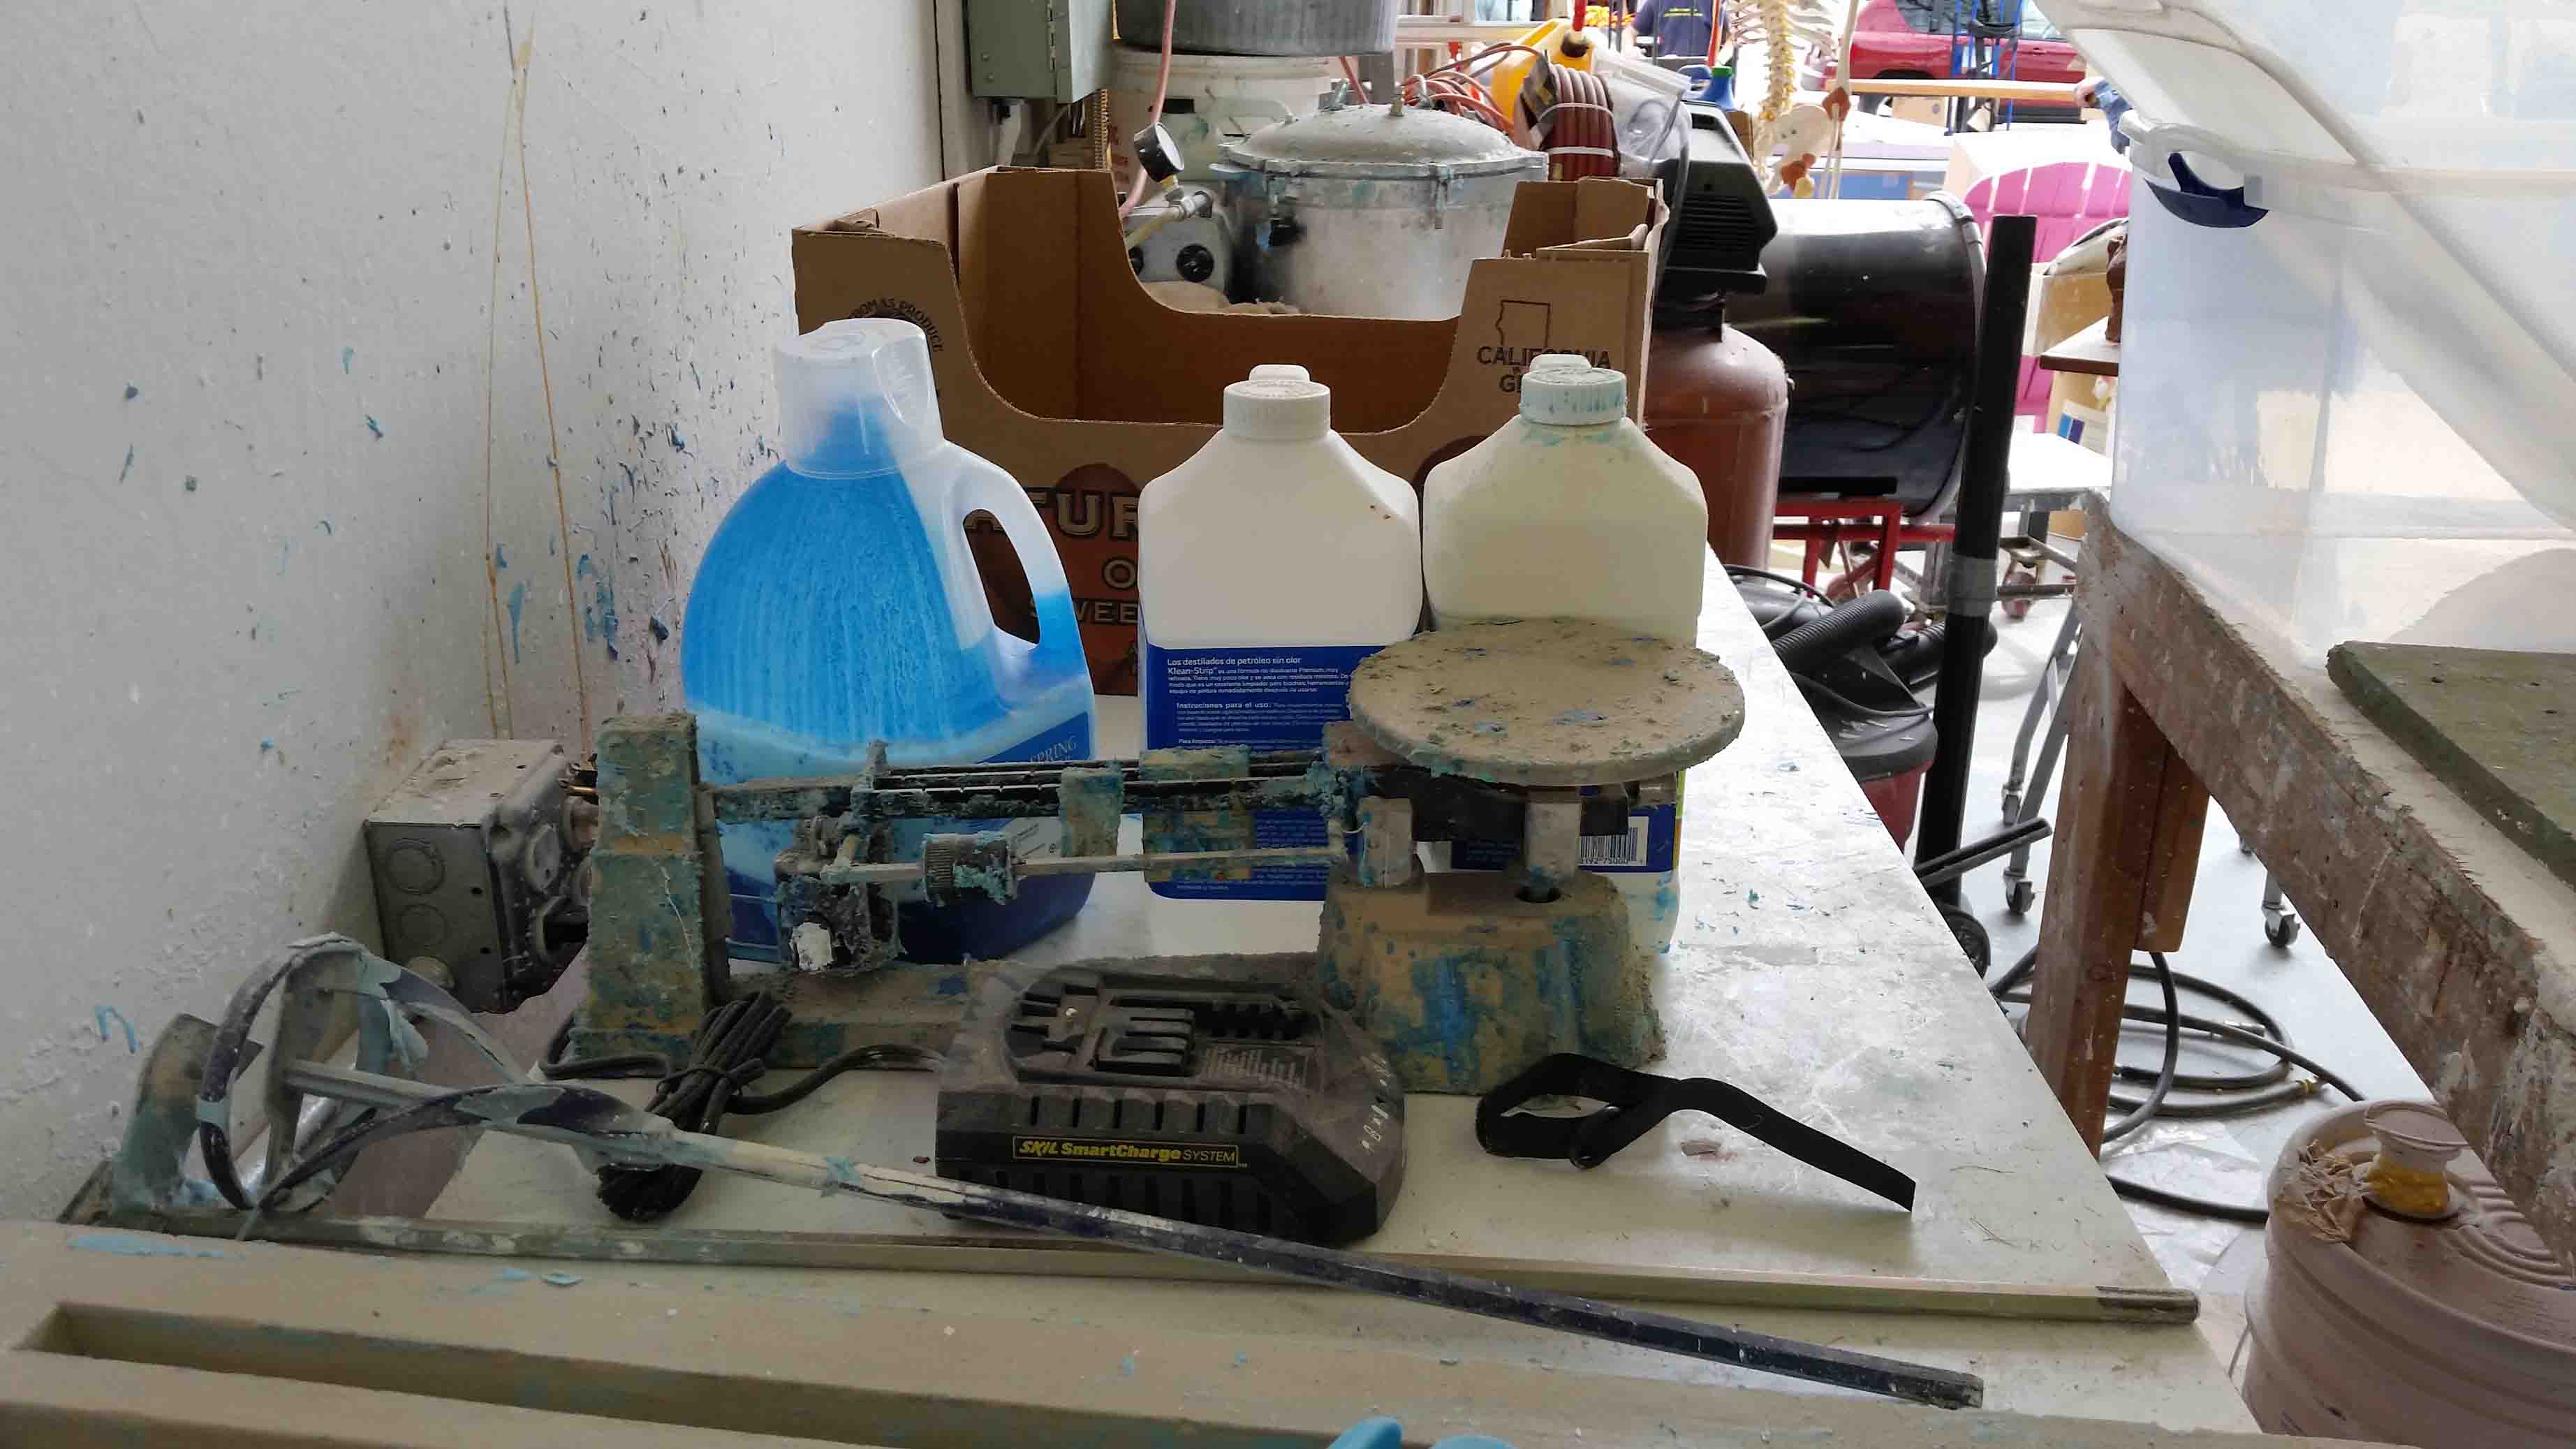
While lending a hand packing up Gary’s studio, when he was moving from Utah to Arizona, I got a sneak peak into the artist’s toolbox. I was fascinated by the utensils, gadgets, and gizmos I found as I collected these tools from all corners of his huge studio. As I compiled a box of similar typed items, my mind began to wander as I thought about the ways in which he used each one. Which ones did he select to engrave, etch, and carve with? Which tools did he choose to mold, shape, and construct with? Did he use this pointy tool to shape the corner of an eye or this sponge to smooth out a cheek? There were saw-tooth edges, smooth flat spatulas, wire end modeling tools, curved scraper blades; in an assortment of metal, wood, and plastic. There were leaves, sticks, rocks, feathers and other treasures he had gathered from mother nature which I thought might be a source of inspiration for him. I saw tiny toys, mirrors, armatures, skeletal frames, rulers, plastic buckets, a crock-pot, and tin cans. There was a scale for measuring powders and jugs of solutions for mold making. There was foam board, plywood, and long and short wooden dowels.
As I was taking some pictures with my phone, Gary looked at me inquisitively to which I replied, “they are for a blog article I’m writing about you and the tools you use to sculpt with.” As promised, I’m sharing them here with you. The paraphernalia I saw and collected were all items that Gary used his imagination to find a purpose for. The tools he chooses to use to sculpt his masterpieces with tells me that the creative process is alive and well in the head, heart, and hands of Gary Lee Price.


